
Free up space
How to Compress a Video on iPhone and Mac
The MacZentra team · Updated Nov 17, 2026 · 7 min read
To compress a video on a Mac, open it in QuickTime Player, choose File → Export As and pick a lower resolution such as 720p. On an iPhone, the quickest way to compress a video is to record smaller in the first place, using Settings → Camera → Record Video. Neither needs extra software. This guide covers both, and what you give up for a smaller file.
What compress video size really means
A video file is large because of three things: how many pixels each frame has (resolution), how many frames there are per second (frame rate), and how much data the encoder spends describing each second (bitrate). To compress a video file you reduce one or more of them.
That’s why “compress video without losing quality” can’t be taken literally. Every method either throws away some detail or re-encodes the footage more tightly, and re-encoding always costs a little. What you can choose is how much loss you’ll actually notice. A clip that will be watched on a phone screen hides a drop from 4K to 1080p far better than one shown on a big monitor.
- Resolution. Going from 4K to 1080p cuts the pixel count to a quarter, and the file shrinks a lot.
- Frame rate. 60 frames per second takes more space than 30. Fast sport looks smoother at 60, but a talking head doesn’t need it.
- Bitrate and codec. A modern codec such as HEVC describes the same picture with less data than the older H.264, at similar visible quality.
1. How to compress a video on a Mac with QuickTime Player
QuickTime Player ships with every Mac, so this is the easiest way to compress a video file without installing anything.
- Open the video in QuickTime Player (right-click the file, then choose Open With → QuickTime Player).
- Choose File → Export As.
- Pick a resolution from the list. Typical options are 4K, 1080p, 720p and 480p, and you only see sizes at or below the original.
- Name the file, choose where to save it and click Save.
The export is a new file, so your original is untouched. For email or chat, 720p is usually enough and gives a much smaller file than the original. If the result is still too big, export again at 480p. If you only need part of the clip, choose Edit → Trim first and cut the start and end, since shorter always means smaller.
2. Compress video size from Finder or Terminal
Finder has its own option. Right-click a video and choose Encode Selected Video Files (it can sit under Quick Actions or Services), then pick a lower video setting. The result is saved next to the original, so you can compare the two sizes before deleting anything.
If you prefer Terminal, macOS includes a tool called avconvert. This command re-encodes one file at 1280 by 720 and writes a new file, so nothing is overwritten. Change the two file names to yours.
# Writes a new 720p copy, the original stays as it isavconvert -p Preset1280x720 -s ~/Movies/holiday.mov -o ~/Movies/holiday-720p.mov
Run avconvert on its own to see its usage and the list of presets. The output file must not exist yet, which is a useful safety check.
3. Compress video on iPhone by recording smaller
Fixing it before you hit record beats fixing it afterwards. Open Settings → Camera and look at two screens.
- Record Video. Pick a lower resolution and frame rate, for example 1080p HD at 30 fps instead of 4K at 60 fps. The screen shows roughly how much space a minute of each option uses, and the exact options depend on your iPhone model.
- Formats. Choose High Efficiency. It records in HEVC, which keeps similar quality in a smaller file. Most Compatible uses H.264, which is larger but plays on older devices.
These settings only affect new videos. Footage already on the phone keeps its size. To shorten an existing clip, open it in Photos, tap Edit, drag the yellow handles to trim it, then tap Done. You can save the trimmed version as a new clip and keep the original until you’re happy.
4. How to compress a video for email or messages on iPhone
Sharing from the Photos app already does some of the work. Messages usually sends a reduced copy of a video rather than the full file, which is why a clip can look softer to the person who receives it. Mail may also offer a size choice, or hand a very large clip over as a download link instead of an attachment.
Attachment limits of about 20 to 25 MB are common with email providers, so a minute of 4K video often won’t fit as an attachment. If a share fails, trim the clip or record at a lower setting next time, and send it with a link when it’s still too big.
Which way to compress video is best?
| Method | Device | How much smaller | What you lose |
|---|---|---|---|
| QuickTime Export As, 1080p or 720p | Mac | A lot smaller when the original is 4K | Resolution, so less fine detail |
| Finder, Encode Selected Video Files | Mac | Noticeably smaller at lower settings | Resolution, and some detail from re-encoding |
| avconvert in Terminal | Mac | Depends on the preset | Same as the preset you choose |
| Record Video at a lower setting | iPhone | Much smaller for new clips | Resolution or smoothness |
| Formats, High Efficiency | iPhone | Smaller at similar quality | Some older devices can’t play HEVC |
| Trim in Photos | iPhone | Smaller in proportion to the time you cut | The footage you removed |
| Share by Messages or Mail | iPhone | A reduced copy goes out | Detail in the copy that is sent |
Find the videos that are worth compressing
Compression only pays off on the biggest files, so start by finding them. On a Mac, Finder can sort a folder by size, and our guide to finding large files on a Mac covers the Terminal route too. Screen recordings and old camera footage are common culprits.
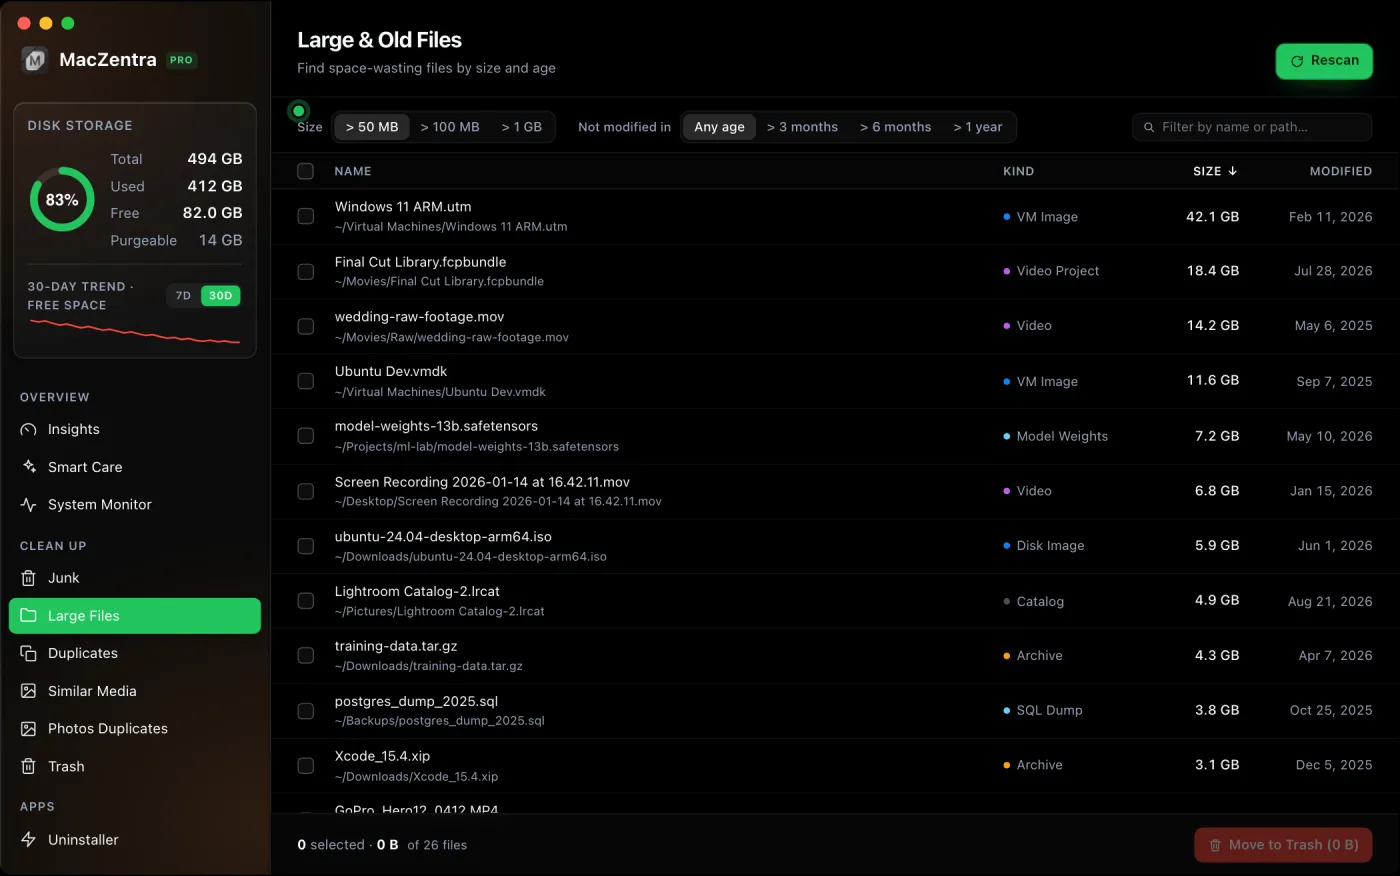
MacZentra doesn’t compress video on the Mac. What it does there is list your largest files so you can see which videos to export smaller or move off the disk, and everything you remove goes to the Trash. For a wider look at where your space went, read how to check storage on a Mac, then which large files are safe to delete.
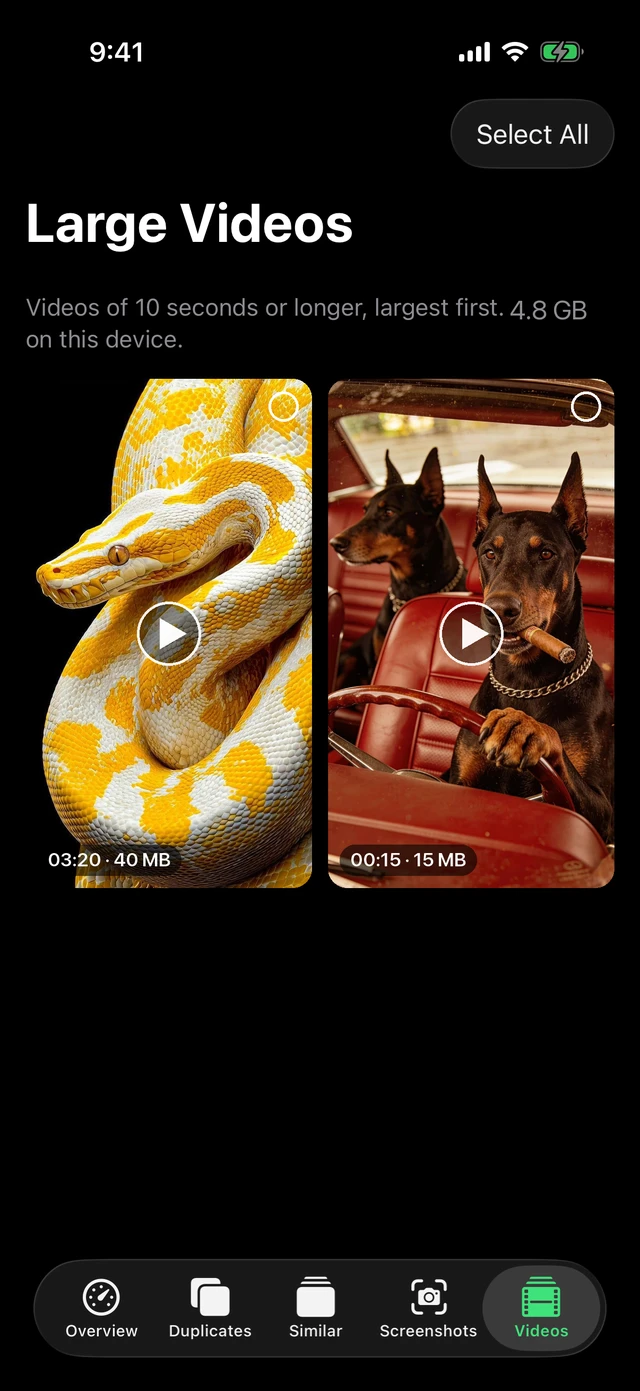
On the phone, start with how to check iPhone storage and look at Photos, since videos count there. If the phone is already full, what to do when iPhone storage is full lists every built-in fix. Cleaning iPhone photos, duplicates and screenshots goes further, and 10 fixes to free up space on a Mac does the same for the computer.
Questions people ask
How do I compress a video without losing quality?
You can’t shrink a video and keep every detail, because smaller means less data. You can pick a change that’s hard to see: drop 4K to 1080p for a phone screen, keep 30 fps, and use HEVC. Compare the copy with the original before you delete anything.
How do I compress a video for email?
Trim it, then export at 720p or 480p. Check the file size in Finder or Files, and compare it with your provider’s attachment limit. If it still doesn’t fit, share it as a link instead.
How can I reduce the size of a video file on my Mac for free?
Use QuickTime Player’s File → Export As with a lower resolution, or Finder’s Encode Selected Video Files option. Both come with macOS and write a new file.
Does recording in High Efficiency make iPhone videos smaller?
Yes. High Efficiency uses HEVC, which stores similar quality in less space than Most Compatible. The trade is that some older devices and programs can’t play it. Check this under Settings → Camera → Formats.
Why does a video look worse after I send it in Messages?
Messages sends a reduced copy so the file is quick to deliver. Your original stays in Photos at full quality. For the sharpest copy, send it another way, such as a link.
Everything MacZentra can clean
Treemap and Sunburst disk maps, a duplicate finder, Developer Junk, a complete app uninstaller and more, in one native storage cleaner for Mac that’s 15.4 MB.
Explore all features →Related guides
Free up space · 8 min
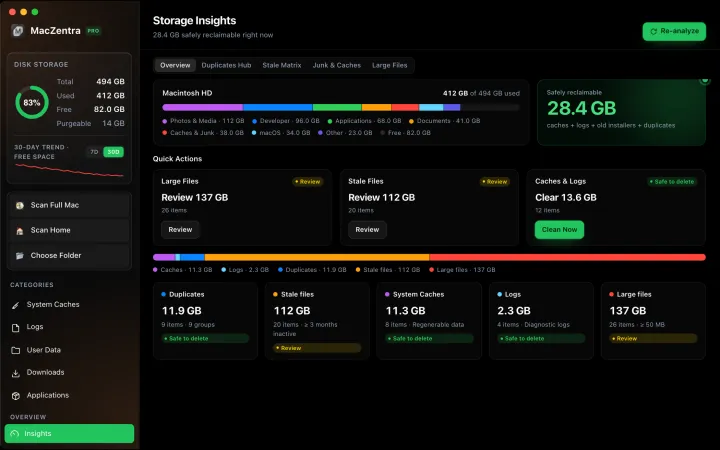
Free Up Space on Mac: 10 Fixes, Biggest First
Ten ways to free up Mac storage ranked by typical space recovered. Covers hidden Library folders and leftovers macOS Storage settings never show.
Free up space · 5 min
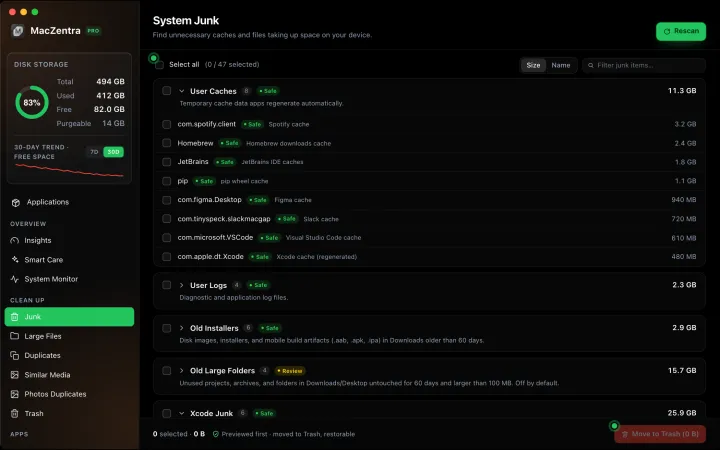
Is It Safe to Delete Library Caches on Mac? What to Keep and Clear
Yes for most apps. See which ~/Library/Caches and /Library/Caches folders are safe to delete, which to leave alone, and how to clear them step by step.
Free up space · 3 min
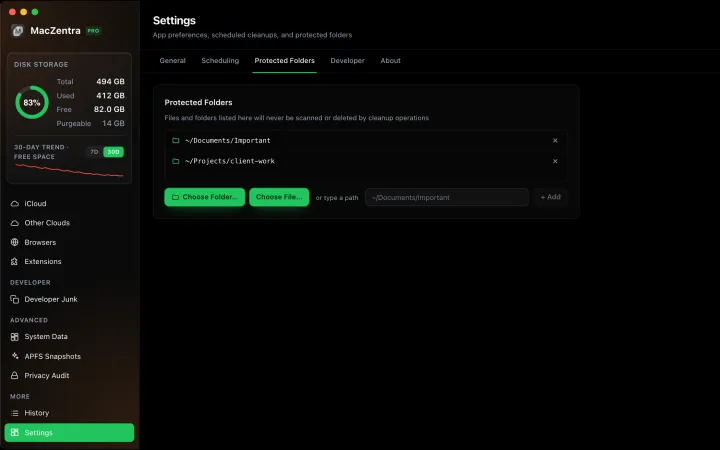
Protected Files & Folders: Keep Items Safe
How the built-in protected paths guard system-critical locations, and how to add your own custom folders to prevent accidental deletion.
Free up space · 4 min
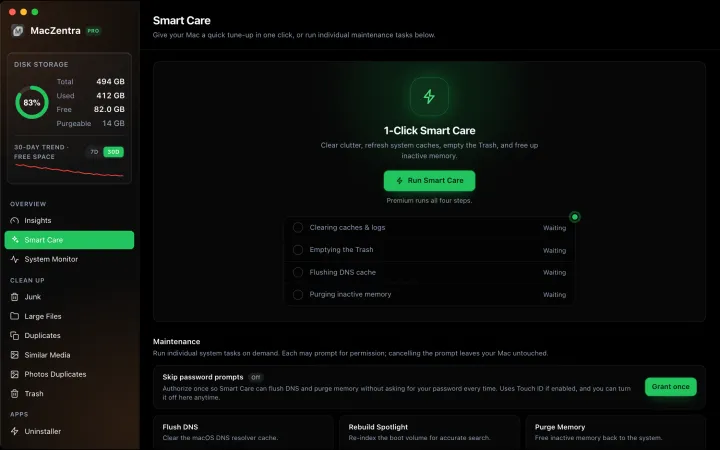
Smart Care for Mac: Automate Cache, Trash and Memory Cleanup
Automate Mac maintenance with Smart Care: clear caches, empty Trash, flush DNS and purge inactive memory in one workflow. Schedule it or run it on demand.