
Free up space
Free Up Space on Mac: 10 Fixes, Biggest First
The MacZentra team · Updated Nov 17, 2026 · 8 min read
The fastest way to free up space on a Mac is to work through the biggest, safest wins first: empty the Trash, clear caches, delete old installers and downloads, remove apps you no longer use (with their leftovers), then deal with developer folders and snapshots. Below are ten fixes, ordered by how much they usually return.
1. Empty the Trash
Files in the Trash still occupy disk space. Right-click the Trash icon in the Dock and choose Empty Trash. To have macOS do it for you, turn on Finder → Settings → Advanced → Remove items from the Trash after 30 days. If you’d rather clear caches, empty the Trash and reclaim memory in a single pass, Smart Care runs these first chores for you in one click. The built-in Mac storage optimization settings are worth a look too.
2. Clear app and browser caches
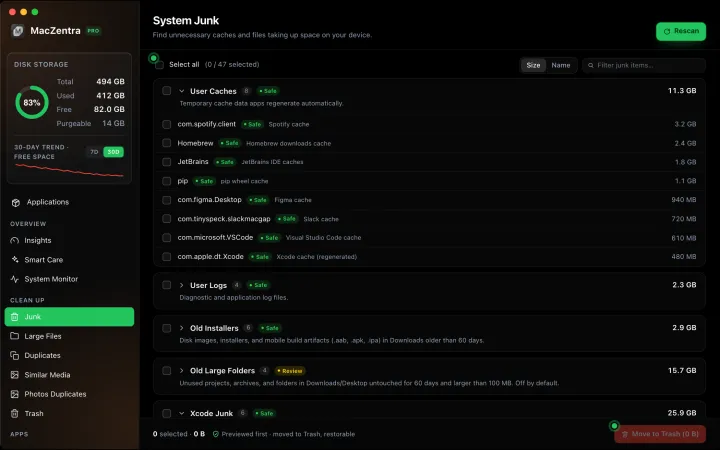
Caches are data apps can rebuild. They’re usually the largest quick win, often several gigabytes. Clear them app by app rather than wiping the whole folder. Our guide to what’s safe in ~/Library/Caches covers which folders to skip.
3. Delete old installers and downloads
.dmg, .pkg and .zip files in ~/Downloads are usually leftovers once the app is installed. Sort the folder by Size in Finder and review the top of the list.
4. Find and remove large files you forgot
Screen recordings, video exports, disk images and old backups add up. Use one of the four methods in How to find large files on a Mac, then move what you want to keep to an external drive.
5. Uninstall apps you don’t use, with their leftovers
Dragging an app to the Trash removes the app but not its support files, preferences and caches in ~/Library. Those stay behind indefinitely. After removing an app, check ~/Library/Application Support, ~/Library/Caches and ~/Library/Preferences for folders named after it.
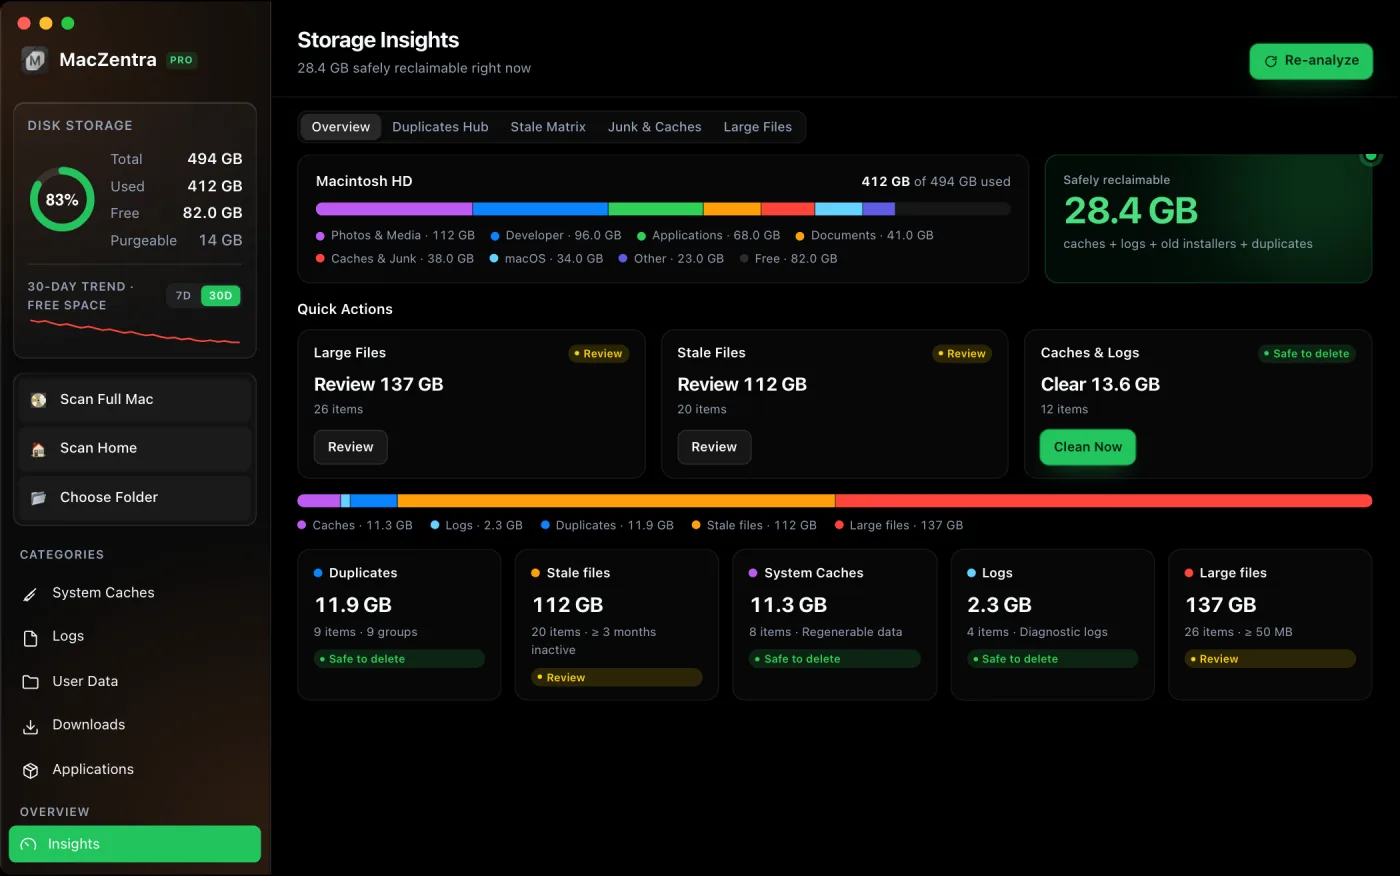
6. Clear developer junk
If you write code, this is often the single biggest category:
- Docker.raw can reach tens of gigabytes and rarely shrinks on its own.
- Xcode DerivedData, device support and simulators regenerate when needed.
- node_modules folders from projects you’ve finished.
7. Check local snapshots
Time Machine and macOS updates keep hidden local snapshots that hold deleted files until they’re removed. If you’ve deleted a lot and the free space didn’t move, see APFS local snapshots. List yours with:
tmutil listlocalsnapshots /
8. Shrink the rest of System Data
Logs, virtual machine disks and app support files all count as System Data. System Data on Mac explains what’s in it and the safe order to shrink it.
9. Remove duplicate and similar files
Duplicate downloads, exported copies and near-identical photos waste space quietly. Check what a tool flags before deleting: two files with the same name aren’t necessarily the same file.
If the alert is already on screen, what to delete first when the startup disk is full gives the emergency order, and how to empty the Trash on a Mac covers a Trash that refuses to empty. When cleaning is no longer enough, see how to get more storage on a Mac.
10. Move rarely used files off the Mac
If you’re still short, move archives, old projects and media libraries to an external drive, or store them in iCloud Drive. Keep one backup before you delete the local copy.
A few rules that keep this safe
- Use the Trash, not
rm -rf, unless you’re sure of the path. - Never delete from
/System,/usror system folders. - Quit an app before clearing its caches.
- Empty the Trash afterwards; the space isn’t freed until you do.
Everything MacZentra can clean
Treemap and Sunburst disk maps, a duplicate finder, Developer Junk, a complete app uninstaller and more, in one native storage cleaner for Mac that’s 15.4 MB.
Explore all features →Related guides
Free up space · 6 min
How to Clear App Cache on iPhone
How to clear app cache on iPhone: three methods that work, why Offload App keeps Documents and Data, and what each one costs in logins and downloads.

Free up space · 6 min
How to Find and Delete Screenshots on iPhone
How to find screenshots on iPhone in Photos, select hundreds at once, delete them, and empty Recently Deleted so the space comes back.
Free up space · 5 min
Is It Safe to Delete Library Caches on Mac? What to Keep and Clear
Yes for most apps. See which ~/Library/Caches and /Library/Caches folders are safe to delete, which to leave alone, and how to clear them step by step.
Check storage · 9 min
Best Mac Storage Cleaners 2026: Compared & Ranked
Mac storage cleaners and disk space analyzers compared by price, size, scan speed and licence. One-time, subscription and free options side by side.