
Free up space
How to Empty Trash on Mac (and Force It)
The MacZentra team · Updated Nov 17, 2026 · 6 min read
To empty the Trash on a Mac, Control-click the Trash icon in the Dock and choose Empty Trash, or open Finder and press ⇧⌘Delete. Confirm the prompt and everything inside is deleted for good. If the Trash refuses to empty, the cause is usually a file that is still open, locked or on another drive, and each one has a safe fix below.
How to empty the Trash on a Mac, step by step
There are three ordinary ways to empty the Trash on a Mac. They all do the same thing, so pick the one that suits your hands.
From the Dock
- Control-click (or right-click) the Trash icon at the right end of the Dock.
- Choose Empty Trash.
- Confirm with Empty Trash again. macOS warns that you can’t undo this.
From Finder
Click the Finder icon, then choose Finder → Empty Trash in the menu bar. If you’d like to look before you delete, click the Trash in the Dock first, check what’s in there, and use the Empty button in the top-right corner of the window.
With the keyboard
| Shortcut | What it does |
|---|---|
| ⌘Delete | Moves the selected file or folder to the Trash |
| ⇧⌘Delete | Empties the Trash, after a confirmation prompt |
| ⌥⇧⌘Delete | Empties the Trash with no prompt. Use it only when you’re sure |
Where is the Trash on a Mac?
The Trash lives in the Dock, usually at the far right. Click it and a Finder window opens with everything you’ve deleted. On disk, the folder for your account is a hidden one called .Trash inside your home folder. You rarely need to open it by hand, but if the Dock icon has gone missing, you can still reach the same items by choosing Go → Go to Folder in Finder and typing ~/.Trash.
Two cases confuse people. First, an external drive or USB stick keeps its own Trash on that drive. Files you delete from it show up in the Trash window while the drive is connected, and if you unplug it they are not in your Mac’s Trash any more. Second, if you delete a file from a shared network folder, it may be removed straight away instead of going to the Trash, depending on how the server is set up. Before you delete something from a network share, assume there is no way back.
To see what the Trash is costing you, it’s part of the picture in how to check storage on a Mac. Large items sitting in the Trash still count as used space until you empty it.
How to force empty the Trash on a Mac
Sometimes Empty Trash fails with a message such as “The operation can’t be completed because the item is in use” or “is locked”. Work through these in order. They go from gentlest to most disruptive, and none of them needs Terminal.
- Quit the app using the file. A video still open in an editor, a disk image that’s mounted or a document in a background app all keep a file busy. Quit the app with ⌘Q, then try again. If the file is a disk image, eject it in Finder first.
- Clear the Locked flag. In the Trash, select the file and press ⌘I for Get Info. If Locked is ticked, untick it, then empty the Trash.
- Check permissions. In the same Get Info window, open Sharing & Permissions at the bottom. If your account is listed with Read only, click the padlock, enter your password and change your account to Read & Write.
- Delete the stubborn item on its own. Instead of emptying everything, right-click the single file in the Trash and choose Delete Immediately. One bad file can block the whole batch, and this tells you which one it is.
- Restart the Mac. A restart closes every process, so any background job holding a file lets go of it. Then empty the Trash before you open anything else.
If an entire app won’t go, the problem is usually a running helper process rather than the Trash. Our guide to deleting apps on a Mac that won’t delete covers that case.
To look at the Trash from Terminal without changing anything, this read-only command lists what’s inside. Terminal needs Full Disk Access in System Settings → Privacy & Security to read that folder, otherwise it reports “Operation not permitted”.
ls -lA ~/.Trash
Why the space doesn’t come back right away
You emptied the Trash, but Storage settings still shows the same free space. That’s common and it has three usual causes.
The numbers lag. macOS recalculates storage in the background, so give it a minute and reopen the Storage screen.
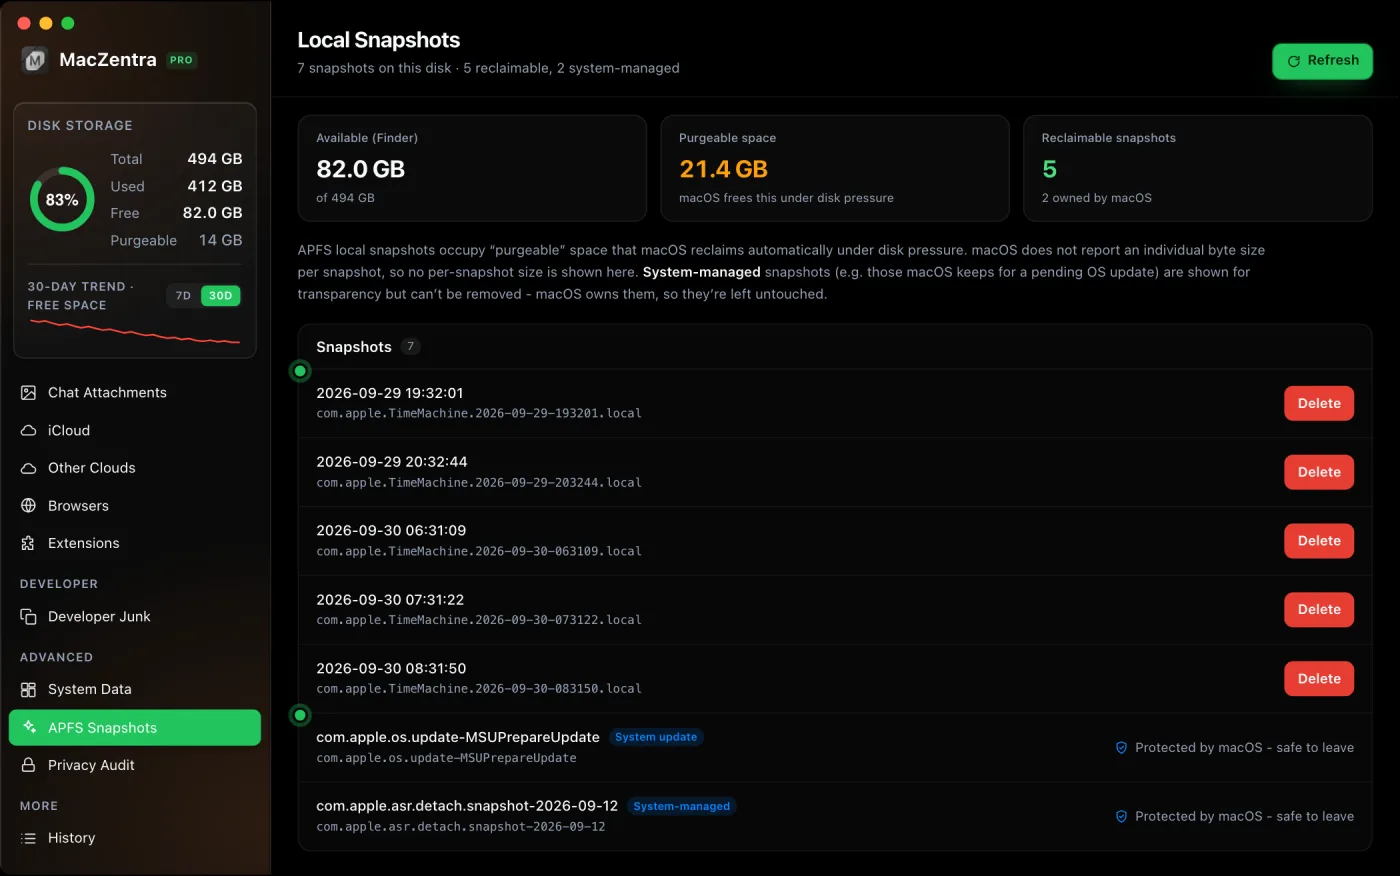
Snapshots hold on to the blocks. A local Time Machine snapshot can keep a deleted file’s data on disk until it expires, which can take up to a day. The guide to APFS local snapshots explains how to see them and when they clear.
The big files were never in the Trash. Caches, old backups and leftover app data sit elsewhere. Our walkthrough on storage not freeing up after deleting files goes through each case, and how to clear cache on a Mac covers the cache side.
How to recover emptied Trash on a Mac
What you can do depends on when you notice. Be wary of any claim that deleted files can always be brought back, because once the Trash is emptied, it’s not something to count on.
- Not emptied yet. Open the Trash, right-click the file and choose Put Back. It returns to the folder it came from.
- Emptied, with a Time Machine backup. Open the folder where the file used to live, open Time Machine from the menu bar, pick a backup from before the deletion and click Restore. This is the dependable route.
- Emptied, no backup. Stop using the Mac as much as you can, because new writes can overwrite the space. After that, a recovery tool might get something back, but on a modern Mac with an encrypted SSD the chances are poor and nobody can promise a result. Treat the file as gone.
The practical lesson: turn on Time Machine, and look in the Trash before you empty it. Our free up space on Mac guide lists safer places to start than the Trash when you need room fast.
Questions people ask
How do I empty the Trash on a Mac with the keyboard?
Open Finder and press ⇧⌘Delete, then confirm. Adding ⌥ skips the confirmation prompt.
Why won’t my Mac empty the Trash?
A file is open in an app, locked, or your account lacks permission to delete it. Quit the app, clear Locked in Get Info, or restart and try again.
Is it safe to empty the Trash on a Mac?
Yes, as long as you’ve looked at what’s in it. Emptying is permanent, so scan the list for anything you still need first.
Does emptying the Trash free up space immediately?
Usually, but not always. Storage settings can lag, and local snapshots may hold the space for up to a day. Reopen Storage after a minute before you worry.
Can I find big files before I delete them?
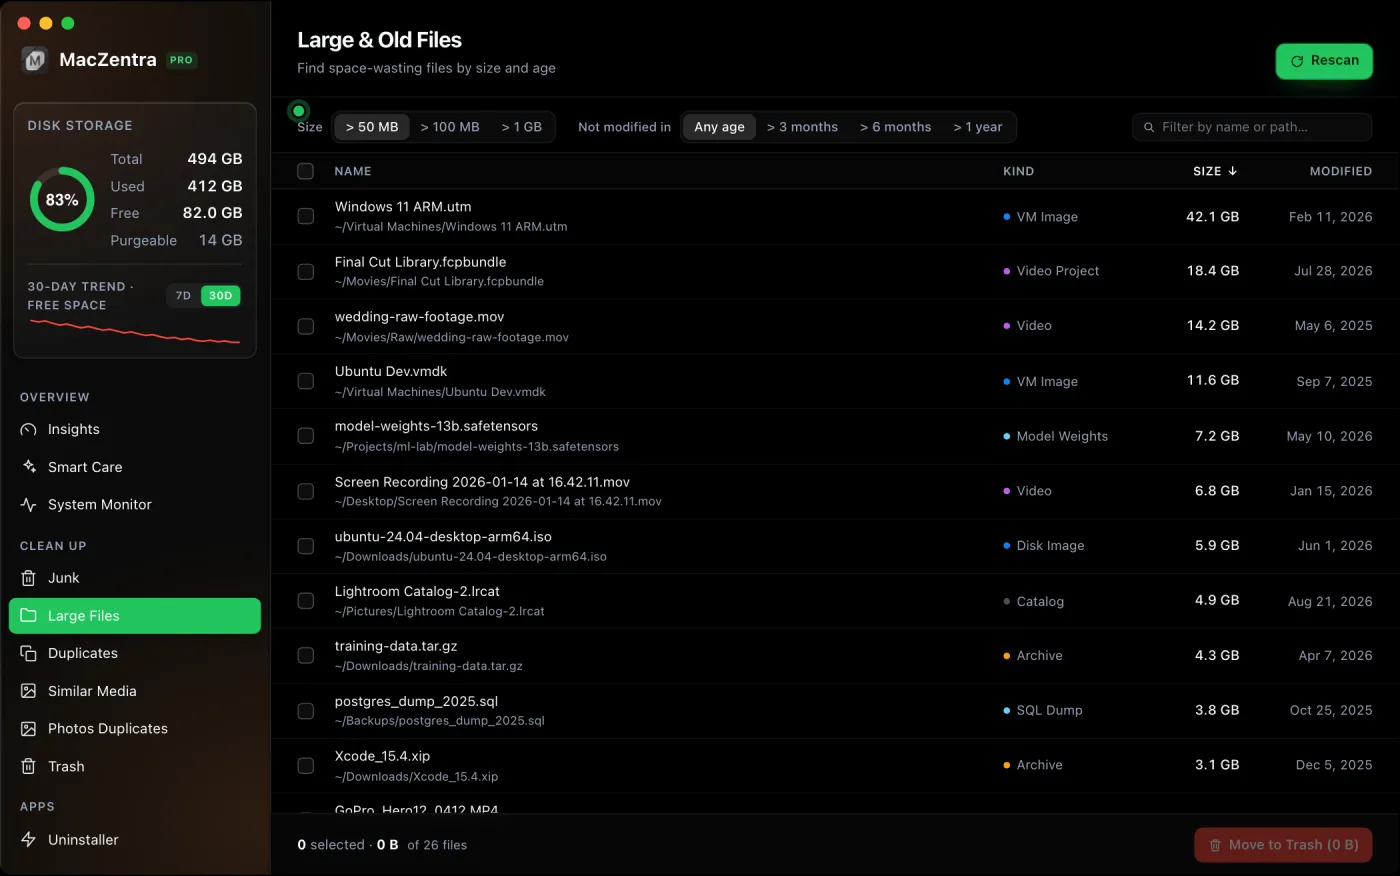
Yes. Our guides on finding large files on a Mac and which large files are safe to delete show how. MacZentra also has a Protected Files list for things you never want touched.
Everything MacZentra can clean
Treemap and Sunburst disk maps, a duplicate finder, Developer Junk, a complete app uninstaller and more, in one native storage cleaner for Mac that’s 15.4 MB.
Explore all features →Related guides
Free up space · 8 min
Free Up Space on Mac: 10 Fixes, Biggest First
Ten ways to free up Mac storage ranked by typical space recovered. Covers hidden Library folders and leftovers macOS Storage settings never show.
Free up space · 5 min
Is It Safe to Delete Library Caches on Mac? What to Keep and Clear
Yes for most apps. See which ~/Library/Caches and /Library/Caches folders are safe to delete, which to leave alone, and how to clear them step by step.
Free up space · 3 min
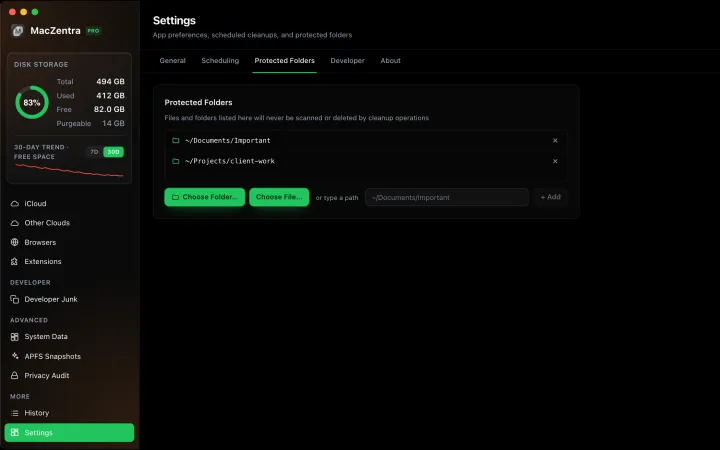
Protected Files & Folders: Keep Items Safe
How the built-in protected paths guard system-critical locations, and how to add your own custom folders to prevent accidental deletion.

Free up space · 4 min
Smart Care for Mac: Automate Cache, Trash and Memory Cleanup
Automate Mac maintenance with Smart Care: clear caches, empty Trash, flush DNS and purge inactive memory in one workflow. Schedule it or run it on demand.