
Free up space
Startup Disk Full on Mac: What to Delete First
The MacZentra team · Updated Nov 17, 2026 · 7 min read
A startup disk full on Mac means the drive macOS boots from has almost no free space left. Fix it in a fixed order: empty the Trash, clear Downloads and old installers, then find the largest files. Those three steps free the most space for the least risk. Caches, old iPhone backups and local snapshots come next, and developer junk last.
What the startup disk is, and why the alert matters
The startup disk is the drive your Mac starts up from. On most Macs it’s called Macintosh HD, and it holds macOS, your apps and your own files. On a MacBook Air or MacBook Pro it’s the built-in SSD, so there’s no spare drive to fall back on.
The “Your startup disk is almost full” alert is not a cosmetic warning. macOS needs free space for virtual memory, for temporary files and for installing updates. When that room runs out, apps freeze, saves fail and updates stop halfway. If you’re seeing “not enough disk space” errors on a Mac, the cause is this same shortage.
First, confirm the numbers. Our guide to checking storage on a Mac shows five ways to do it. Then work down the list below, and stop as soon as you have comfortable headroom.
The triage order: fastest and safest first
Each step costs more effort or carries more risk than the one before it. Most people only need the first three. The effect depends on what is on your disk, so it’s described in words.
| Step | Typical effect | Risk |
|---|---|---|
| 1. Empty the Trash | Often the biggest single win, since deleted files still hold their space | Low, but it can’t be undone |
| 2. Clear Downloads and old installers | Large, because disk images and archives pile up for years | Low |
| 3. Find the largest files | Large, and usually a handful of files do most of the work | Low if you check what each file is |
| 4. Clear caches | Moderate, but apps rebuild them | Low to moderate |
| 5. Delete old iPhone and iPad backups | Large if you have several old devices | Moderate, because the backup is gone for good |
| 6. Check local snapshots | Varies, and macOS often clears them without help | Low if you leave them to macOS |
| 7. Developer junk | Very large on a coder’s Mac | Low to moderate, and it costs a rebuild |
1. Empty the Trash
Files you delete in Finder are only moved to the Trash. They keep using the same space until you empty it. Control-click the Trash in the Dock and choose Empty Trash, or open Finder and press ⇧⌘Delete. Look through the contents first, because this can’t be reversed. Our guide on emptying the Trash on a Mac covers the cases where it refuses.
2. Clear Downloads and old installers
Open your Downloads folder in Finder, switch to list view with ⌘2, and click the Size column to sort. Old .dmg disk images, .pkg installers and .zip archives are the usual weight. An installer you already used has done its job, so it can go.
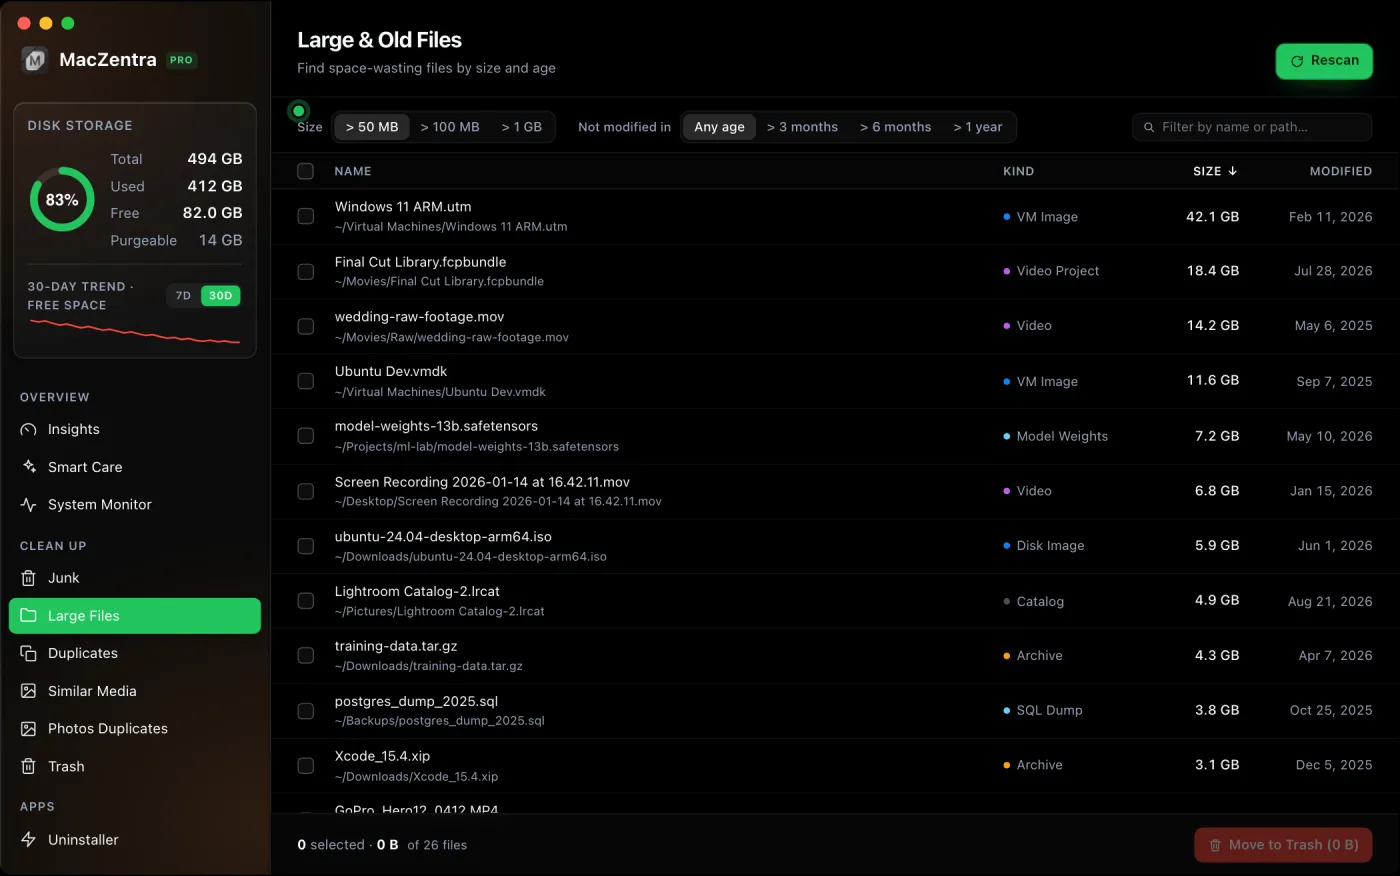
3. Find the largest files on the startup disk
Now look for the big individual files: screen recordings, video exports, virtual machine images, forgotten archives. In Terminal, this read-only command lists files over 1 GB in your home folder. It deletes nothing.
find ~ -type f -size +1G 2>/dev/null
Go through the list and keep anything you recognise as important. If a file’s purpose is unclear, read which large files are safe to delete before you remove it. For more ways to hunt them down, see how to find large files on a Mac.
4. Clear caches
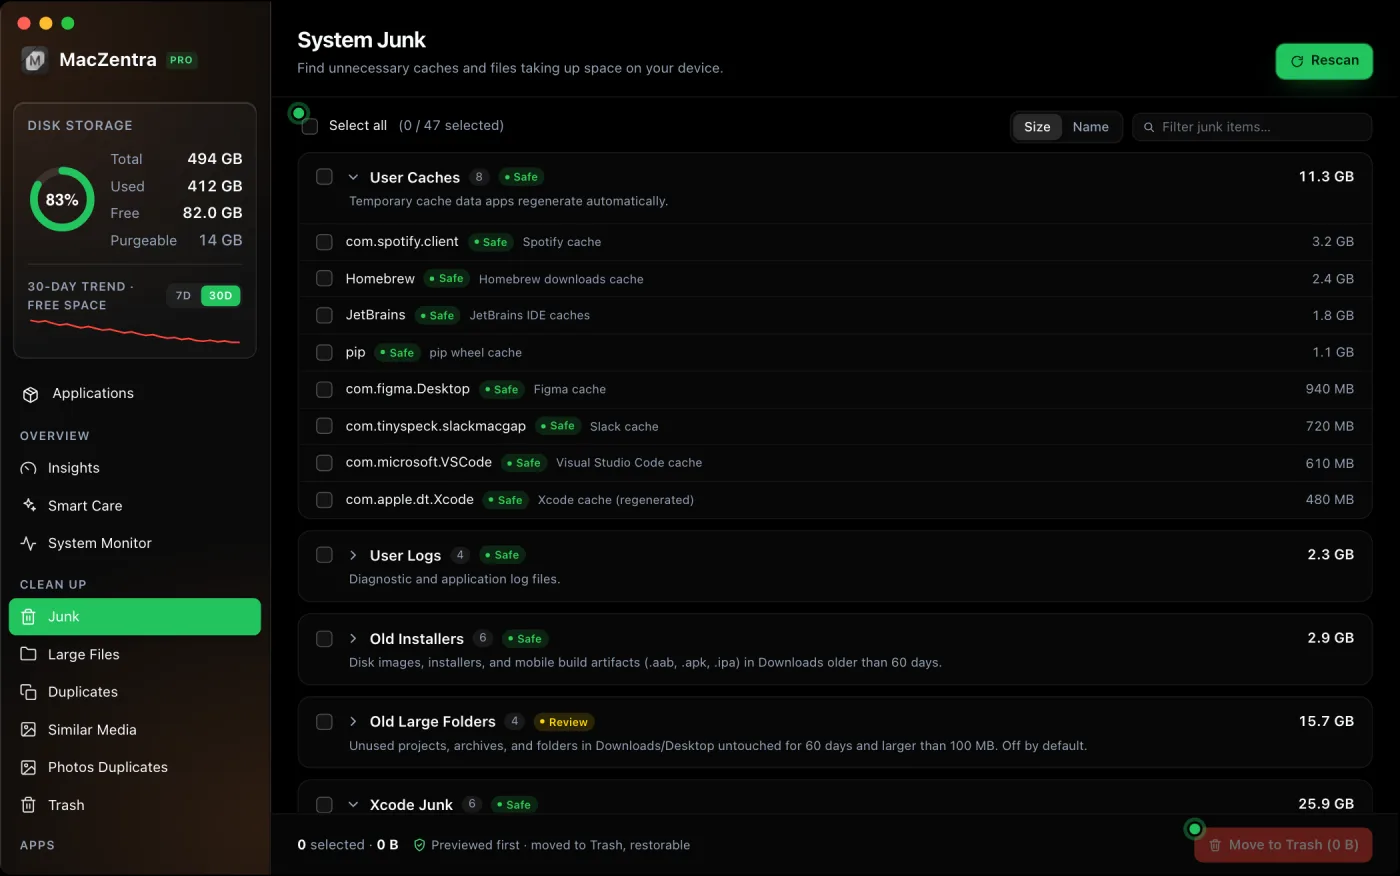
Apps and browsers store temporary data in ~/Library/Caches. It’s safe in principle, since apps rebuild what they need, but the first launch afterwards can be slower. Delete only inside specific app folders, never the whole Caches folder. The rules are in which Library caches are safe to delete.
5. Delete old iPhone and iPad backups
Backups made through Finder can be several times larger than people expect, and old devices leave their backups behind. Connect your iPhone, select it in the Finder sidebar, open the General tab and choose Manage Backups. Select an old one, usually from a device you no longer own, and delete it. Keep the most recent backup of any device you still use.
6. Check local snapshots
Time Machine keeps local snapshots on the startup disk, and macOS normally removes them when space gets tight. That’s why they’re step six and not step one. To see what exists, run this read-only command.
tmutil listlocalsnapshots /
If space doesn’t come back after you delete files, a snapshot is often the reason. The details, including how to thin them, are in our guide to APFS local snapshots, and why storage doesn’t free up after deleting files covers the rest.
7. Developer junk, if you code
If you build software, this step can beat everything above. Xcode build data, Docker images and old node_modules folders regularly reach tens of gigabytes. Start with cleaning Xcode DerivedData, then shrinking the Docker disk image and cleaning up node_modules. All of it can be regenerated, though a rebuild takes time.
When the disk is so full the Mac barely runs
With almost nothing free, Finder can lag and apps may refuse to save. Work in this order.
- Quit every app you don’t need. Each one holds memory, and macOS swaps to the same full disk.
- Drag a few large files you’re sure about to the Trash, then empty it. Moving to the Trash needs no free space.
- Restart the Mac. A restart clears temporary files and swap, which often gives back a little room.
- Copy large files you want to keep to an external drive, then delete the originals once you’ve opened the copies.
“Scratch disks are full” in Photoshop and other creative apps
A scratch disk is a drive an app uses for temporary working files while you edit large images, video or audio. By default that’s the startup disk. The “scratch disks are full” message looks like a problem with the app, but it’s the same shortage as the startup disk alert, reported by a different program.
To free up scratch disk space on a Mac, follow the steps above, then quit and reopen the app, because many apps release their temporary files on exit. If it keeps happening, the app’s preferences have a scratch disk setting where you can choose an external drive with more room.
When the easy wins run out
If you’ve done all seven steps and the disk is still tight, the space is spread across many places. Read the broader 10 fixes to free up space on a Mac or how to get more storage on a Mac, which covers moving files off the machine. System Data is the next place to look.
Questions people ask
Why does my Mac say the startup disk is full when I have lots of files deleted?
The files are probably still in the Trash, or a local snapshot is holding their space. Empty the Trash, then check snapshots with the command in step six.
What should I delete first when my startup disk is full?
Empty the Trash, then clear Downloads and old installers, then look for the largest files. Those steps are quick, and none of them touches anything macOS needs.
How do I fix “startup disk full” on a MacBook Air?
The steps are identical on a MacBook Air and a MacBook Pro. The difference is that you can’t add internal storage later, so an external drive for big files is the practical long-term fix.
How much free space does a Mac need to run properly?
Apple doesn’t publish a fixed figure. A sensible target is 10 to 15 percent of the disk free, which leaves room for swap, caches and updates.
What does “scratch disks are full” mean on a Mac?
It means the drive that holds the app’s temporary working files is out of space. On most Macs that’s the startup disk, so freeing space there fixes it.
Everything MacZentra can clean
Treemap and Sunburst disk maps, a duplicate finder, Developer Junk, a complete app uninstaller and more, in one native storage cleaner for Mac that’s 15.4 MB.
Explore all features →Related guides
Free up space · 8 min
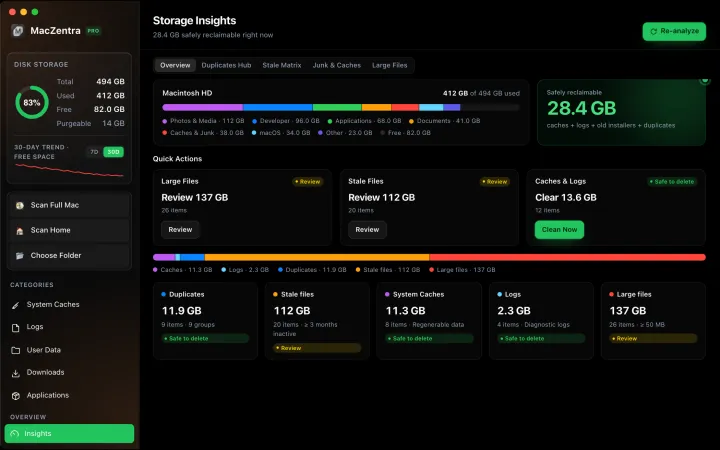
Free Up Space on Mac: 10 Fixes, Biggest First
Ten ways to free up Mac storage ranked by typical space recovered. Covers hidden Library folders and leftovers macOS Storage settings never show.
Free up space · 5 min
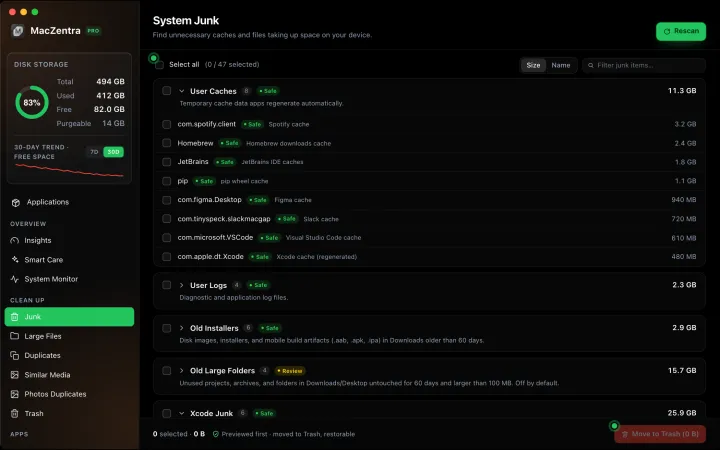
Is It Safe to Delete Library Caches on Mac? What to Keep and Clear
Yes for most apps. See which ~/Library/Caches and /Library/Caches folders are safe to delete, which to leave alone, and how to clear them step by step.
Free up space · 3 min
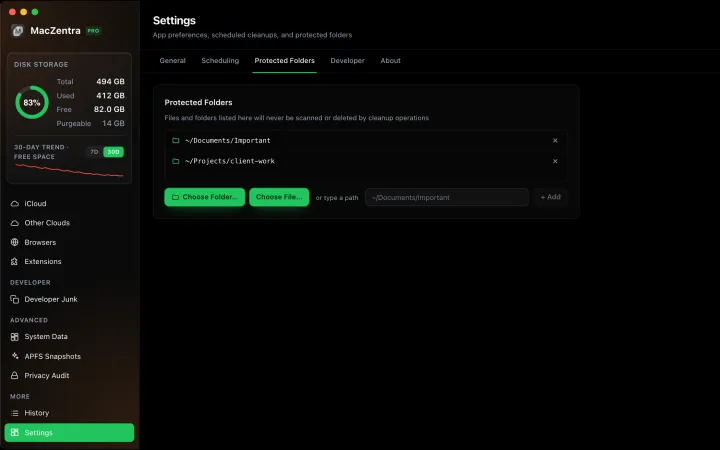
Protected Files & Folders: Keep Items Safe
How the built-in protected paths guard system-critical locations, and how to add your own custom folders to prevent accidental deletion.

Free up space · 4 min
Smart Care for Mac: Automate Cache, Trash and Memory Cleanup
Automate Mac maintenance with Smart Care: clear caches, empty Trash, flush DNS and purge inactive memory in one workflow. Schedule it or run it on demand.